


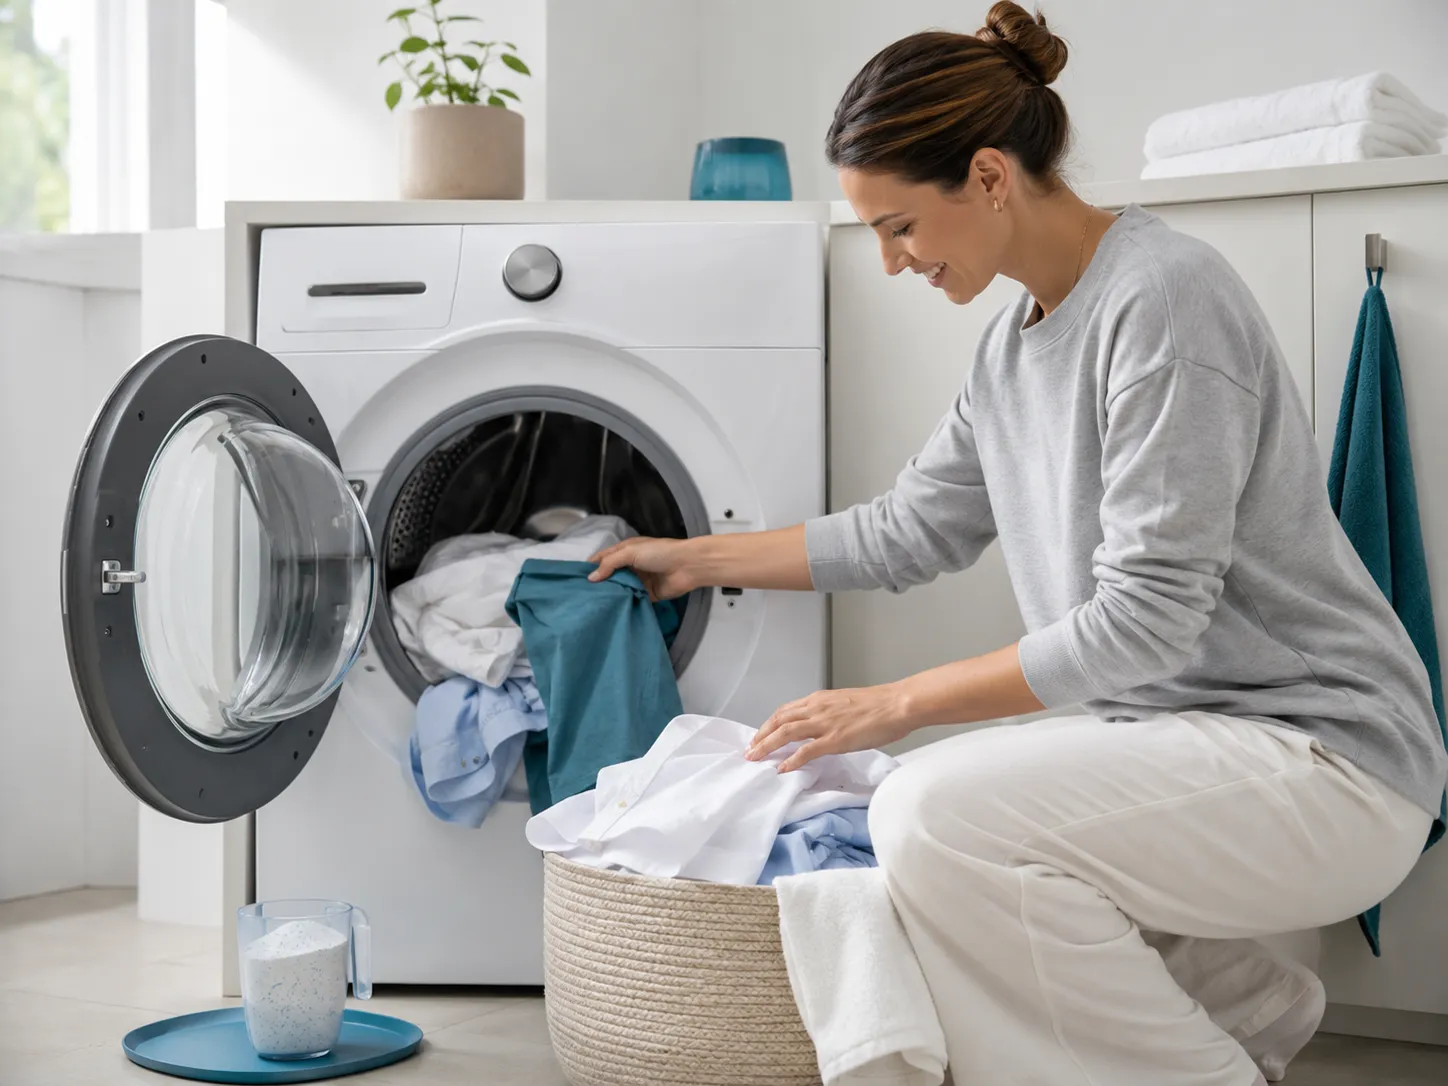
Mold on baby clothes can often be treated when the affected area is small, the garment is washable, and the fabric is still strong. Keep the item away from clean laundry, check the care label, pretreat the affected area, and wash it on the warmest setting allowed by the garment and product instructions.
Milk, formula, drool, food residue, and trapped moisture can create the damp conditions that mold needs. Check thick seams, elastic edges, bib backing, and folded areas because they may remain wet after the rest of the garment feels dry. Fuzzy growth, spreading spots, and a lasting musty smell are stronger signs of mold or mildew than a flat, odor-free stain.
This guide explains how to identify the problem, decide whether to restore or replace the garment, clean different baby fabrics, manage remaining stains and odors, and stop the problem from returning.
CareOnova Quick Plan
- Separate the affected garment from clean laundry.
- Check the care label and bleach symbols.
- Pretreat the mark with a suitable laundry product.
- Wash on the warmest setting the care label allows.
- Dry the garment and every thick layer completely.
- Inspect it for growth, odor, and damage before reuse.
Important: Warm water may improve cleaning, but temperature alone does not prove that all mold has been removed.
Is It Mold or a Normal Baby-Clothing Stain?
A dark spot is not always mold. Baby clothes collect many substances that can leave marks, rings, or patches.
Breast milk and formula may leave yellow or brown stains. Purees can create orange, red, green, or purple marks. Detergent residue may look white or chalky. Hard-water minerals can also leave pale deposits.
Possible mold is more likely when a mark appears after the garment has stayed wet, folded, sealed, or forgotten.
Signs that suggest mold or mildew
Look at the texture, smell, pattern, and location together.
| Sign | More Likely to Be Mold or Mildew | More Likely to Be a Normal Stain |
|---|---|---|
| Texture | Fuzzy, powdery, raised, or uneven | Usually flat and smooth |
| Smell | Earthy, stale, or musty | Sour milk, food, soap, or no odor |
| Pattern | Irregular dots or spreading patches | Follows a spill or contact area |
| History | Fabric stayed damp, folded, or sealed | Mark appeared during feeding or normal use |
| Location | Folds, seams, cuffs, elastic, or thick layers | Chest, sleeves, feeding area, or diaper area |
| After Drying | Musty odor may remain | Odor may fade after washing |
Mold can appear black, brown, green, gray, yellow, or white. Color alone cannot identify the exact type of growth. When a mark is difficult to classify, compare its texture, pattern, odor, and damp-storage history with the common signs of mold growth on clothing.
Mildew on baby clothes is not a separate laundry problem. The word “mildew” is often used for flatter or lighter fungal growth. The same basic response applies: clean the fabric, dry it fully, and correct the moisture problem.
Where to inspect first
Baby garments often stay damp in small, thick, or folded areas. Check both sides of:
- Collars and necklines
- Bib and chest areas
- Sleeve cuffs
- Underarm seams
- Waistbands
- Elastic leg openings
- Thick hems
- Snap panels
- Waterproof-backed sections
- Terry loops on towels and washcloths
A small surface mark may cover a wider area on the reverse side.

Can Moldy Baby Clothes Be Saved?
A small, recent patch on a strong, washable garment may be worth treating. Heavy growth, deep odor, weak fibers, or damaged coatings make replacement the better choice. The same condition-based checks can help you decide when moldy clothes are better discarded.
Cleaning may remove the growth without restoring the original color. Mold stains on baby clothes can remain even when the fabric no longer has raised or fuzzy material.
Restore or replace?
| Condition | Try Restoration When | Replace the Garment When |
|---|---|---|
| Affected Area | The affected area is small | Growth covers a large area |
| Age of Growth | The mark appears recent | The item stayed moldy for a long time |
| Washability | The garment is fully washable | The item is nonwashable or highly structured |
| Fabric Strength | The fabric still feels strong | Fibers feel thin, weak, brittle, or torn |
| Care Instructions | Treatment follows the care label | The required treatment breaks the care instructions |
| Garment Parts | Elastic, snaps, and coatings are intact | Elastic has failed or waterproof backing is peeling |
| Odor | Odor disappears after washing and drying | A strong musty smell remains or returns |
| Visible Growth | Marks stay flat and do not spread | Fuzzy or powdery growth returns |
These checks help you decide whether the garment appears usable after treatment. They do not prove that the fabric has been sterilized.
Dry-clean-only clothing should not be soaked or placed in a home washer. Contact a professional cleaner and explain that the garment has visible or suspected mold.
How to Remove Mold From Baby Clothes
The best method depends on the fabric, color, garment design, and amount of growth. The broader process for removing mold from washable clothes still applies, but baby garments need extra care around elastic, prints, snaps, and waterproof layers.
Start with the mildest suitable treatment. Stronger chemicals may damage elastic, prints, dyes, rayon, or waterproof layers.
Choose the right starting method
| Garment Type | Best Starting Method | Main Caution |
|---|---|---|
| White cotton onesie | Detergent pretreatment, then machine wash | Use bleach only when the care label permits it |
| Colored cotton or polyester | Detergent, followed by oxygen bleach if allowed | Test for color change first |
| Muslin or rayon blend | Mild detergent and gentle handling | Avoid hard rubbing and high heat |
| Waterproof-backed bib | Follow the manufacturer’s washing instructions | Bleach and heat may damage the backing |
| Baby towel or terry cloth | Detergent and enough wash movement | Dry the thick loops completely |
| Dry-clean-only garment | Professional textile cleaning | Do not soak or machine wash |
| Cloth-diaper cover | Use the manufacturer-approved washing routine | Protect waterproof layers and elastic |
Step 1: Separate and inspect the garment
Keep the affected item away from clean baby clothes, bedding, towels, and cloth diapers.
Do not shake or aggressively brush it indoors. This may spread loose material into the surrounding area.
Wear household gloves when handling visible growth. Keep babies and young children away from the treatment area and laundry products.
Heavy, flaky, widespread, or deeply embedded growth is a sign that replacement may be more practical than home treatment.
Step 2: Read the complete care label
Check the label before adding heat, bleach, stain remover, or a long soak.
Look for:
- Maximum wash temperature
- Normal or gentle cycle
- Hand-wash instructions
- Tumble-dry limits
- Non-chlorine bleach permission
- Chlorine bleach permission
- “Do not bleach”
- Dry-clean-only instructions
A white garment is not always bleach-safe. The main fabric may be cotton, while the item also contains elastic, thread, snaps, prints, foam, or waterproof backing.
Treat the garment as a complete item, not only as a fiber type.
Step 3: Pretreat the affected area
Place the garment on a clean, washable surface.
Apply a small amount of liquid laundry detergent to the mark. Spread it with light finger pressure or a soft damp cloth.
Do not scrape or scrub hard. Strong rubbing may damage the fibers or spread the mark.
Leave the detergent in place for the time stated on its label.
When an enzyme detergent may help
An enzyme laundry detergent can help break down residue from breast milk, formula, spit-up, drool, sweat, and baby food. Its main role is to remove the organic material around the stain, not to guarantee that all mold has been killed. A good baby laundry detergent with enzymes built in makes this step easier for regular washing, not just mold cleanup.
Some enzyme products are unsuitable for wool, silk, or other delicate materials. Always follow the product label.
When oxygen bleach may help
Oxygen bleach may help treat leftover discoloration on compatible white or colorfast fabrics.
Before using it:
- Check the care label.
- Read the product instructions.
- Test a hidden seam.
- Watch for fading or color change.
- Follow the stated dose and treatment time.
Do not assume that every white garment can handle bleach.
When chlorine bleach may be used
Use chlorine bleach only when both the garment label and the bleach label allow it. Before choosing it, consider whether bleach is suitable for the moldy fabric, since elastic, rayon, prints, dyes, and waterproof coatings may be damaged.
Step 4: Wash with the right cycle and detergent amount
Wash the garment separately or with a small group of affected items that share the same color and care instructions.
Use the warmest water allowed by the care label. Warmer water may help loosen milk, food, body oil, and detergent residue.
However, hot or warm water does not guarantee that all mold has been removed.
Measure the normal amount of detergent for the load. Extra detergent may rinse poorly and leave more residue behind.
Do not pack the washer tightly. Clothes need room to move through the wash water.
A normal cycle may suit strong cotton basics. A gentle cycle may be better for lightweight muslin, rayon blends, stretch fabric, printed garments, or delicate trims.
Step 5: Dry every layer
Drying is part of the treatment. Moisture left inside the fabric can allow the problem to return.
Air-drying after the first wash can make inspection easier. It also helps prevent dryer heat from setting a stain before you check the result.
Open cuffs, waistbands, collars, snap panels, folded edges, and waterproof-backed sections. When air-drying clothes indoors or outdoors, leave space between items and turn thick towels, blankets, or padded garments so hidden areas can dry.
Leave space between garments on the rack. A fan or dehumidifier may help in a closed room. Avoid drying several wet items in a tight, humid space.
Sunlight may help the fabric dry and may fade some marks. It should not be treated as proof that every mold particle has been removed.
Step 6: Inspect before reuse
Wait until the garment is fully dry. Then check it in bright light.
Look for:
- Raised, fuzzy, or powdery growth
- Marks that have spread
- A musty odor
- Damp seams
- Weak or thinning fabric
- Stretched elastic
- Peeling waterproof material
- Damage around snaps or fasteners
A flat mark without odor may be leftover discoloration. Returning growth, a strong smell, or damaged fabric suggests that the treatment was not successful.
Do not use fragrance spray to hide a musty smell. It may cover the warning sign without removing its cause.
Avoid These Common Mistakes
- Do not assume a “natural” product is safe for every baby garment.
- Do not mix bleach with vinegar or other cleaners.
- Do not use boiling water without checking the care label.
- Do not assume sunlight sanitizes the garment.
- Do not seal a damp item inside a bag or bin.
- Do not use fragrance to cover a musty odor.
- Do not repeat harsh treatments on fabric that is becoming weak.
If Mold Stains or Musty Odors Remain
Removing visible growth, removing a stain, and removing an odor are separate tasks.
A wash may remove loose material while leaving a gray, brown, black, or yellow mark. This may be pigment staining or damage inside the fibers.
Check the garment only after it is fully dry.
| Baby Item | Why It Is Vulnerable | Best Care Habit |
|---|---|---|
| Onesies and bodysuits | Milk, sweat, and diaper leaks collect near snaps and elastic | Open and inspect the lower panel before drying |
| Bibs and burp cloths | Frequent contact with milk and food | Wash promptly and dry every fold or backing layer |
| Swaddles and blankets | Large areas may remain folded while damp | Dry them in a fully open position |
| Towels and washcloths | Terry loops hold a large amount of water | Hang them in one layer after use |
| Crib sheets | Sweat, drool, and leaks may stay hidden | Wash promptly and check the mattress protector below |
| Mattress protectors | Waterproof layers slow down drying | Follow heat limits and dry both sides |
| Cloth diapers | Inserts, elastic, and waterproof covers need different care | Separate all parts before treatment |
Musty baby clothes should not go back into storage simply because the marks look lighter.
When the washer may be part of the problem
One lightly affected garment does not always mean the washer is contaminated.
Inspect the machine when:
- Several clean loads smell stale
- Growth appears around the door seal
- The detergent drawer has buildup
- Water remains in the drum
- The filter or drain smells bad
- Clothes stay unusually wet after spinning
Follow the washer manual. Check the gasket, drawer, drum, filter, drainage area, and lid edges.
Run the manufacturer’s maintenance cycle with an approved product. Do not create a homemade mixture of bleach, vinegar, detergent, and disinfectants.
Why Mold Appears—and How to Stop It Returning
The best prevention routine is built around four controls:
- Handle wet items quickly.
- Dry thick areas fully.
- Keep the washer clean.
- Store clothes in a dry place.
Wet items stay folded or sealed
Bibs, burp cloths, washcloths, diaper inserts, and wet sleepwear can remain damp for hours inside a bag or basket.
Milk and food residue make these items harder to clean when they sit for too long.
What to do: Wash heavily soiled items promptly. When washing is not possible, spread them out in a ventilated place so they can begin drying.
A plastic bag may contain a wet item during travel. Remove it as soon as you reach a suitable place.
Thick fabric dries slowly

The center of a garment may feel dry while thick edges still hold water.
Common problem areas include:
- Terry loops
- Elastic waistbands
- Snap panels
- Thick hems
- Blanket edges
- Waterproof backing
- Layered muslin
- Padded bibs
What to do: Open folded areas, turn thick items, and check seams before folding or storage.
The washer transfers odor or residue
A washer with buildup may leave clean clothes smelling stale.
This is more likely when detergent, fabric softener, lint, and water collect in the gasket, drawer, drum, filter, or drain.
What to do: Remove wet laundry when the cycle ends. Use the correct detergent type and dose. Follow the washer’s maintenance schedule.
Storage traps moisture
Clean clothes can still develop mold inside a humid closet, drawer, plastic bin, vacuum bag, basement, or attic.
A sealed container blocks dust, but it also traps moisture that is already inside.
What to do: Store only clean, fully dry garments. Make sure the drawer, shelf, or container is also dry.
Avoid packing baby clothing tightly against a damp wall. Check the room when several stored items develop the same smell or marks.
For hand-me-downs and seasonal storage:
- Wash away milk, food, sweat, and detergent residue.
- Dry every layer.
- Clean and dry the container.
- Remove damaged or musty items.
- Store the container away from damp walls and floors.
- Check long-term storage from time to time.
These habits help prevent mold on baby clothes without adding a complicated laundry routine.
Baby Items That Need Extra Care
Some baby items hold moisture in hidden places. A method that works for a plain cotton onesie may damage a padded bib or waterproof diaper cover.
| Baby Item | Why It Is Vulnerable | Best Care Habit |
|---|---|---|
| Onesies and bodysuits | Milk, sweat, and diaper leaks collect near snaps and elastic | Open and inspect the lower panel before drying |
| Bibs and burp cloths | Frequent contact with milk and food | Wash promptly and dry every fold or backing layer |
| Swaddles and blankets | Large areas may remain folded while damp | Dry them in a fully open position |
| Towels and washcloths | Terry loops hold a large amount of water | Hang them in one layer after use |
| Crib sheets | Sweat, drool, and leaks may stay hidden | Wash promptly and check the mattress protector below |
| Mattress protectors | Waterproof layers slow down drying | Follow heat limits and dry both sides |
| Cloth diapers | Inserts, elastic, and waterproof covers need different care | Separate all parts before treatment |
Mold on cloth diapers
Moldy cloth diapers need more specific care than ordinary baby clothing.
Absorbent inserts may be made from cotton, hemp, microfiber, or bamboo-derived rayon. Covers often include elastic and a waterproof PUL or TPU layer.
A treatment that works for a white cotton insert may damage a colored cover.
Separate inserts from covers. Follow the diaper maker’s water-temperature, bleach, and drying instructions.
Replace a component when:
- The waterproof layer peels
- Elastic no longer returns to shape
- Visible growth remains
- A musty smell keeps returning
- Repeated cleaning weakens the material
A dedicated guide is the better place to explain how to remove mold from cloth diapers in full detail.
Final Takeaway
Mold on baby clothes is usually a moisture problem first and a stain problem second.
Identify the mark before treating it. Then decide whether the garment is strong enough to save.
Use a fabric-safe treatment, wash on the warmest setting the care label allows, and dry every layer. Never mix cleaners or use fragrance to hide a musty smell.
The final step is fixing the habit or storage condition that kept the fabric damp. That is what helps stop the mold from returning.
Reviewed Sources
- U.S. Environmental Protection Agency — mold cleanup, moisture control, and porous materials
- Centers for Disease Control and Prevention — mold exposure and bleach safety
- Federal Trade Commission — garment care-label and bleach instructions
- Garment and laundry-product manufacturer care directions
